
























How to Plan a Covered Patio So the Heating Blends In
A well designed covered patio feels like an extra room. The ceiling is finished, the lighting is soft, and everything looks as though it belongs.
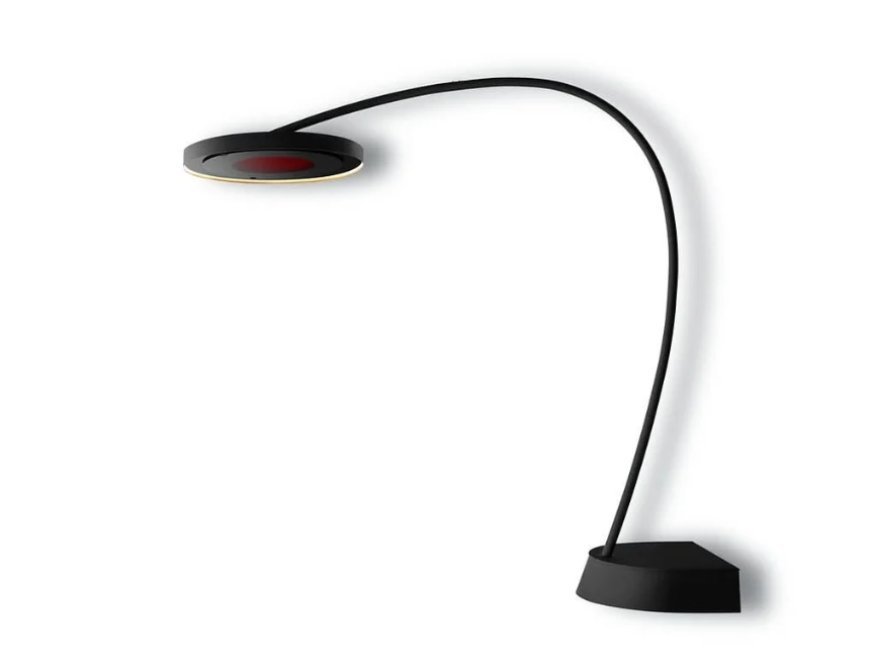
A well designed covered patio feels like an extra room. The ceiling is finished, the lighting is soft, and everything looks as though it belongs. Then someone bolts a heater to the ceiling as an afterthought, and the whole picture changes. Wires run across beams, the fixture sits at an awkward angle, and the heater is the first thing you notice. Planning ahead avoids this entirely, and low profile units like bromic eclipse heaters are designed to blend in, provided the space is planned with them in mind.
Here is how to plan a covered patio so heating becomes part of the design instead of an interruption.
Decide on Heating at the Start
The best time to think about heating is before the ceiling is closed in. If you are building or renovating, include heaters in the plans from the beginning, along with lighting, fans, and speakers. This lets the electrician run wiring inside the structure, and it lets the builder add any blocking or support needed for the fixtures.
Even on an existing patio, take the time to plan the whole ceiling at once, instead of adding one item at a time.
Map Out Where People Sit
Heaters should serve the seating areas. Sketch the layout of the patio, showing tables, sofas, and walkways, and mark where guests will spend the most time. Position heaters to cover those areas evenly, at the recommended mounting height and clearances. A heater placed above an empty corner may look neat, but it will not keep anyone warm.
Coordinate With Other Ceiling Features
A ceiling already carries lighting, fans, sprinklers, and sometimes speakers. Each has to share space without clashing. Plan the arrangement together, so fixtures line up and spacing looks deliberate.
Ideas for a Tidy Ceiling
● Align heaters with beams or rafters so they feel part of the structure
● Space fixtures evenly, and repeat the pattern across the ceiling
● Keep fans, lights, and heaters on a consistent grid
● Avoid placing heaters directly beside lights that cause glare
Keep Wiring Out of Sight
Visible cables ruin the clean look more quickly than anything else. Run wiring through the ceiling cavity, and plan the routes before finishing the surface. A licensed electrician can advise on cable sizes, circuits, and junction boxes, and make sure everything meets local rules.
Match Finishes and Colors
Heaters come in finishes designed to suit different spaces. Choose one that matches or complements the ceiling and other fixtures. A white unit against a white ceiling almost disappears, while a dark unit can look striking on a timber or dark painted ceiling. Consistency matters more than any single choice.
Respect Clearances and Materials
Heaters need space around them, and certain materials must be kept a safe distance away. Timber, fabric, and some finishes can be affected by heat. Follow the manufacturer's guidance on clearances from ceilings, walls, and combustible materials, and build the design around them.
Plan the Controls
Controls are part of the visual design too. A neat panel, placed beside light switches, looks far better than a scattering of separate switches around the patio. Consider whether you want adjustable output, timers, or zoning, and position the controls where they are easy to reach.
A Realistic Example
Picture a homeowner who builds a covered patio and adds heaters later. The electrician runs conduit along the beams, the heaters are mounted at different heights, and the controls end up beside the back door in a mismatched cluster. It works, but it looks improvised.
A second homeowner plans everything together. Wiring is hidden before the ceiling is finished, heaters are spaced evenly along the beams, and one control panel sits beside the lighting switches. The patio looks calm and finished, and the heaters are barely noticeable until they are switched on.
Think About Sightlines
Look at the patio from the places people will sit, and from inside the house through the doors and windows. Heaters should not sit directly in the main view, and they should not create glare. Positioning them slightly to the side of the best views, and checking how they look from both inside and outside, helps them recede into the background.
Leave Room for Future Changes
Outdoor living tends to evolve. You may add a fan, new lighting, or another heater later, so it helps to plan for it. Ask the electrician to leave spare capacity and conduit where practical, and ask the builder to add extra blocking in the ceiling. A little foresight now saves opening up finished surfaces later.
Plan for Maintenance Access
Even the neatest installation needs occasional attention. Think about how someone will reach the heaters for cleaning or servicing, and keep the area around them reasonably clear. Good access also makes it easier for a technician to work safely and efficiently if something ever needs repair.
Work With the Right People
A project like this usually involves a builder, an electrician, and possibly a designer. Share the plan with all of them early, so everyone understands where things go. Confirm what permits and inspections apply, and make sure installation follows the manufacturer's instructions.
Do not forget the finishing touches. Paint or stain the ceiling before installing fixtures where possible, and use trim or plates that sit flush so nothing looks bolted on. Test the lighting and heating together after dark before final sign off, since glare and visible fixtures often show up only at night.
Budget realistically too. Concealed wiring and careful finishing take more time than surface mounting, but they cost far less than reopening a finished ceiling later. Spending a little more at the planning stage usually saves money and frustration overall.
A Planning Checklist
● Decide on heating before the ceiling is finished
● Mark seating zones and position heaters to cover them
● Coordinate heaters with lights, fans, and other fixtures
● Plan concealed wiring and a single, tidy control panel
● Choose finishes that match the surrounding materials
● Check clearances, permits, and installation requirements
Heating That Belongs in the Room
A covered patio looks its best when every element feels intentional. Heating is no exception. With a little advance planning, heaters become a quiet part of the design, delivering comfort without drawing the eye.
If you are planning a new patio or updating an existing one, think about heating at the same time as lighting and layout. The result will look better, work better, and feel like part of the home.
What's Your Reaction?
 Like
0
 Dislike
0
 Love
0
 Funny
0
 Angry
0
 Sad
0
 Wow
0